TLDR; A "How To" on upgrading a Duplicator i3 with modern 3D printer parts, firmware, and creativity. This post is still progress.
The Duplicator i3 is a common 3D printer that many now consider out dated. Instead of throwing it away and buying a new one, I took the challenge of upgrading and/or replacing parts to modernize it. There is also a lot of resources and parts still available.
The "To-Do" List
Glass bed
1/16 to 1/32 steps for steppers. This provides cleaner and smoother prints.
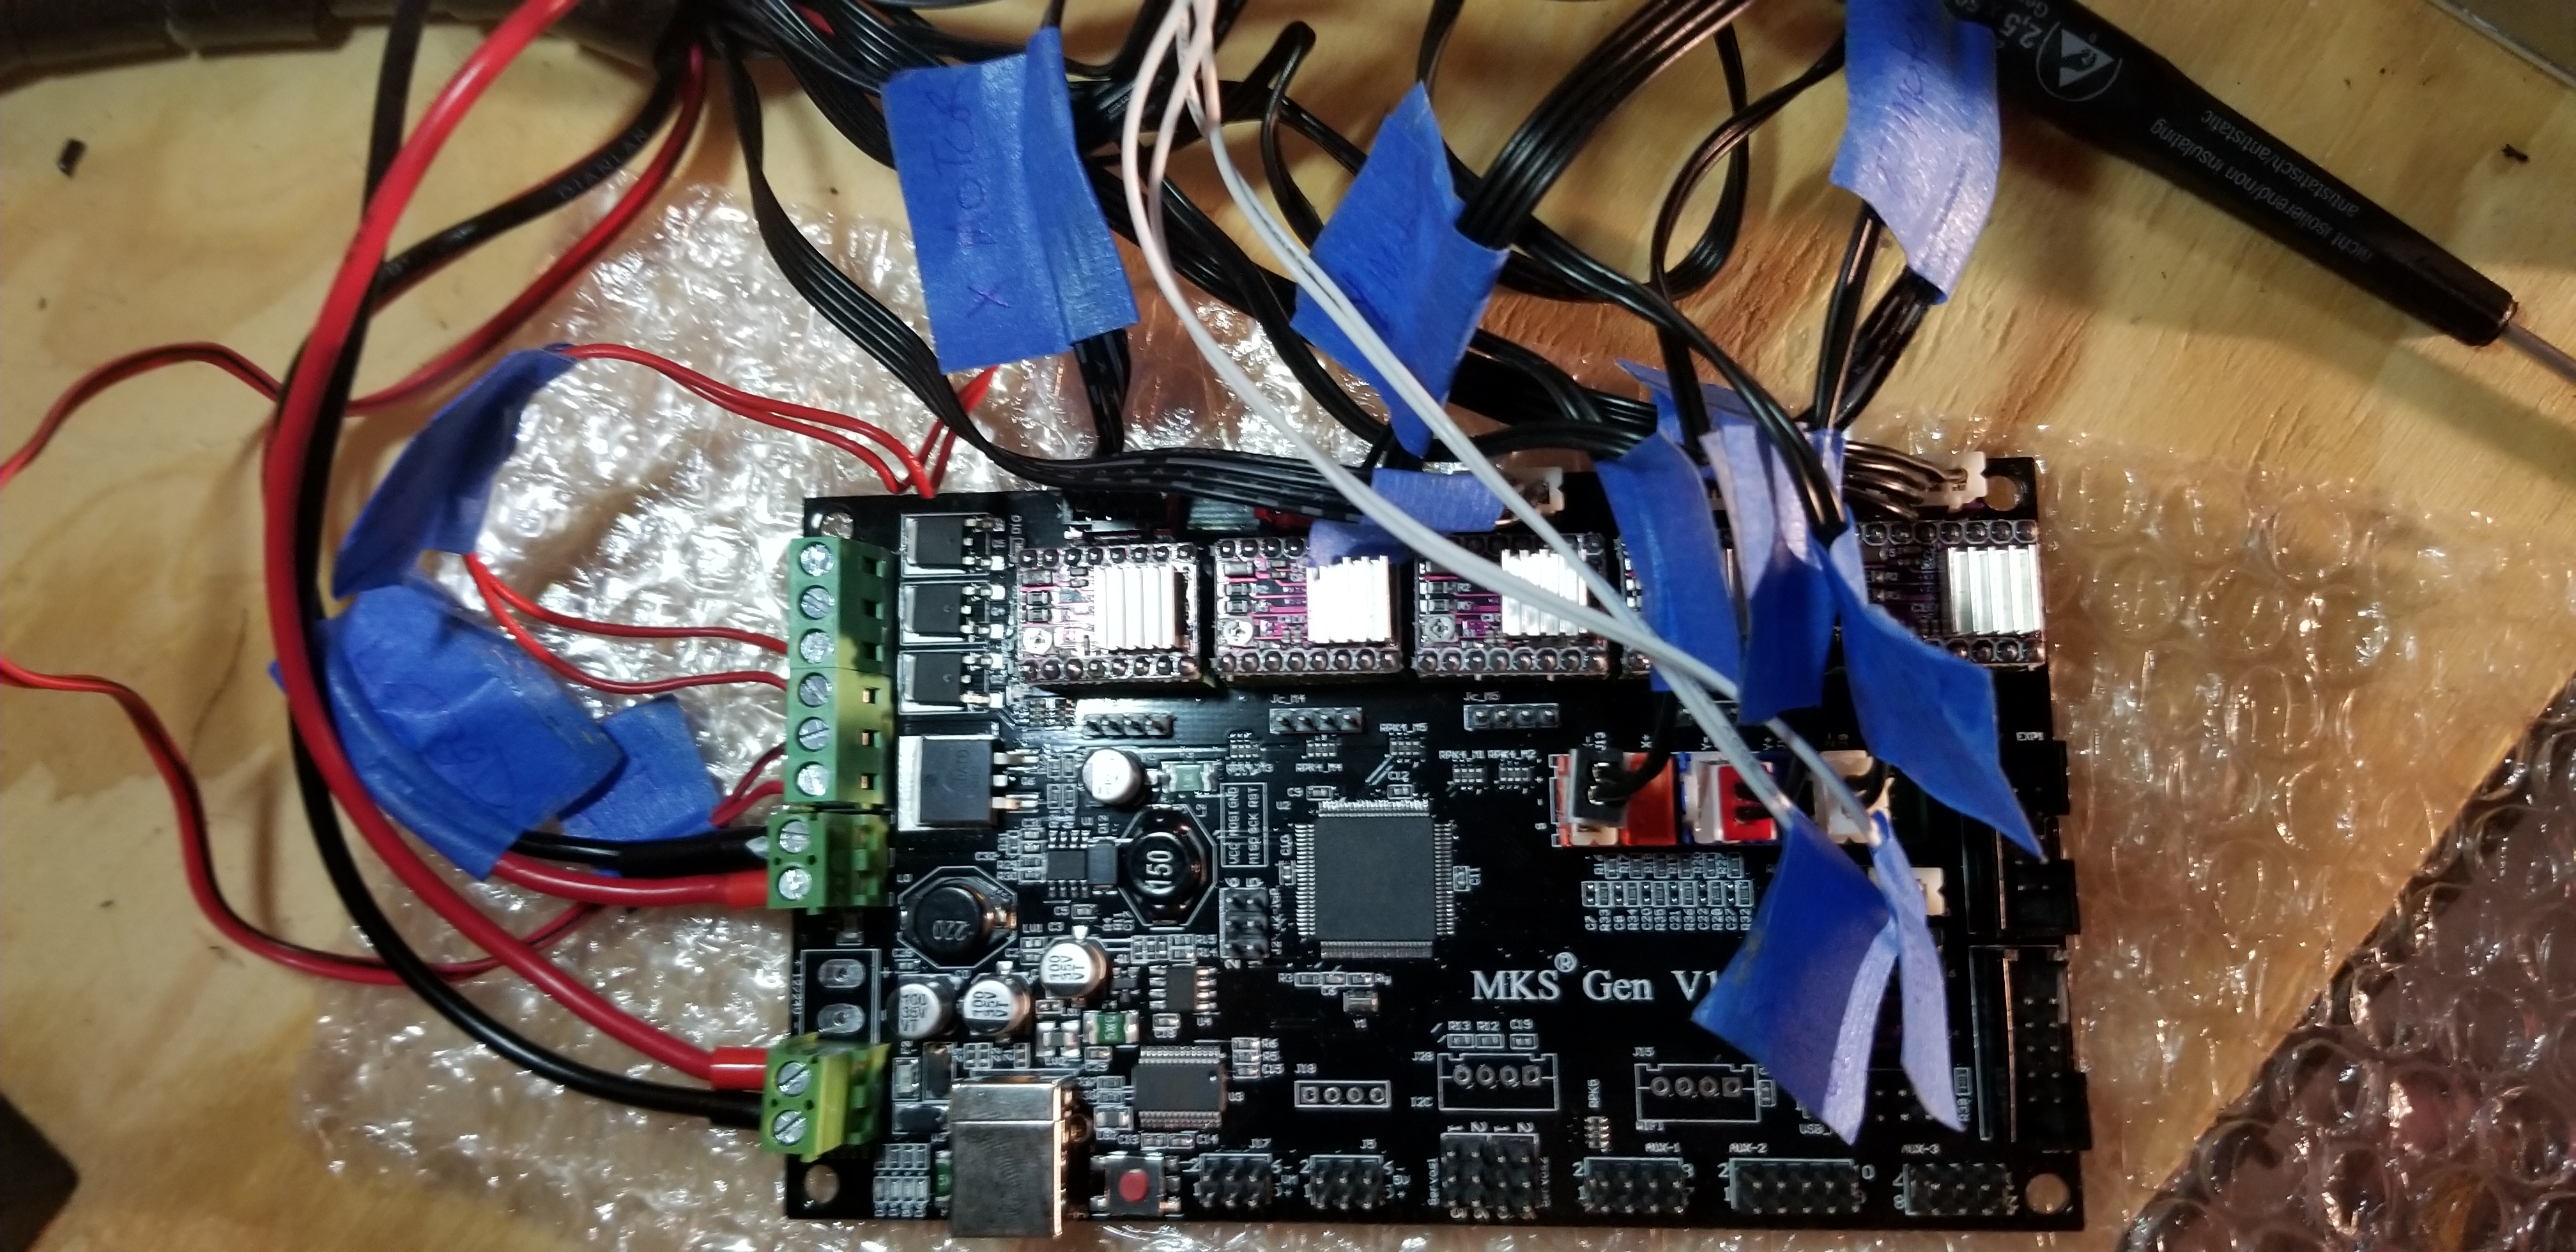
Replace existing Melzi board with a MKS Gen 1.4 board. This could have been the standard RepRap Arudino Mega 2560 board as well.
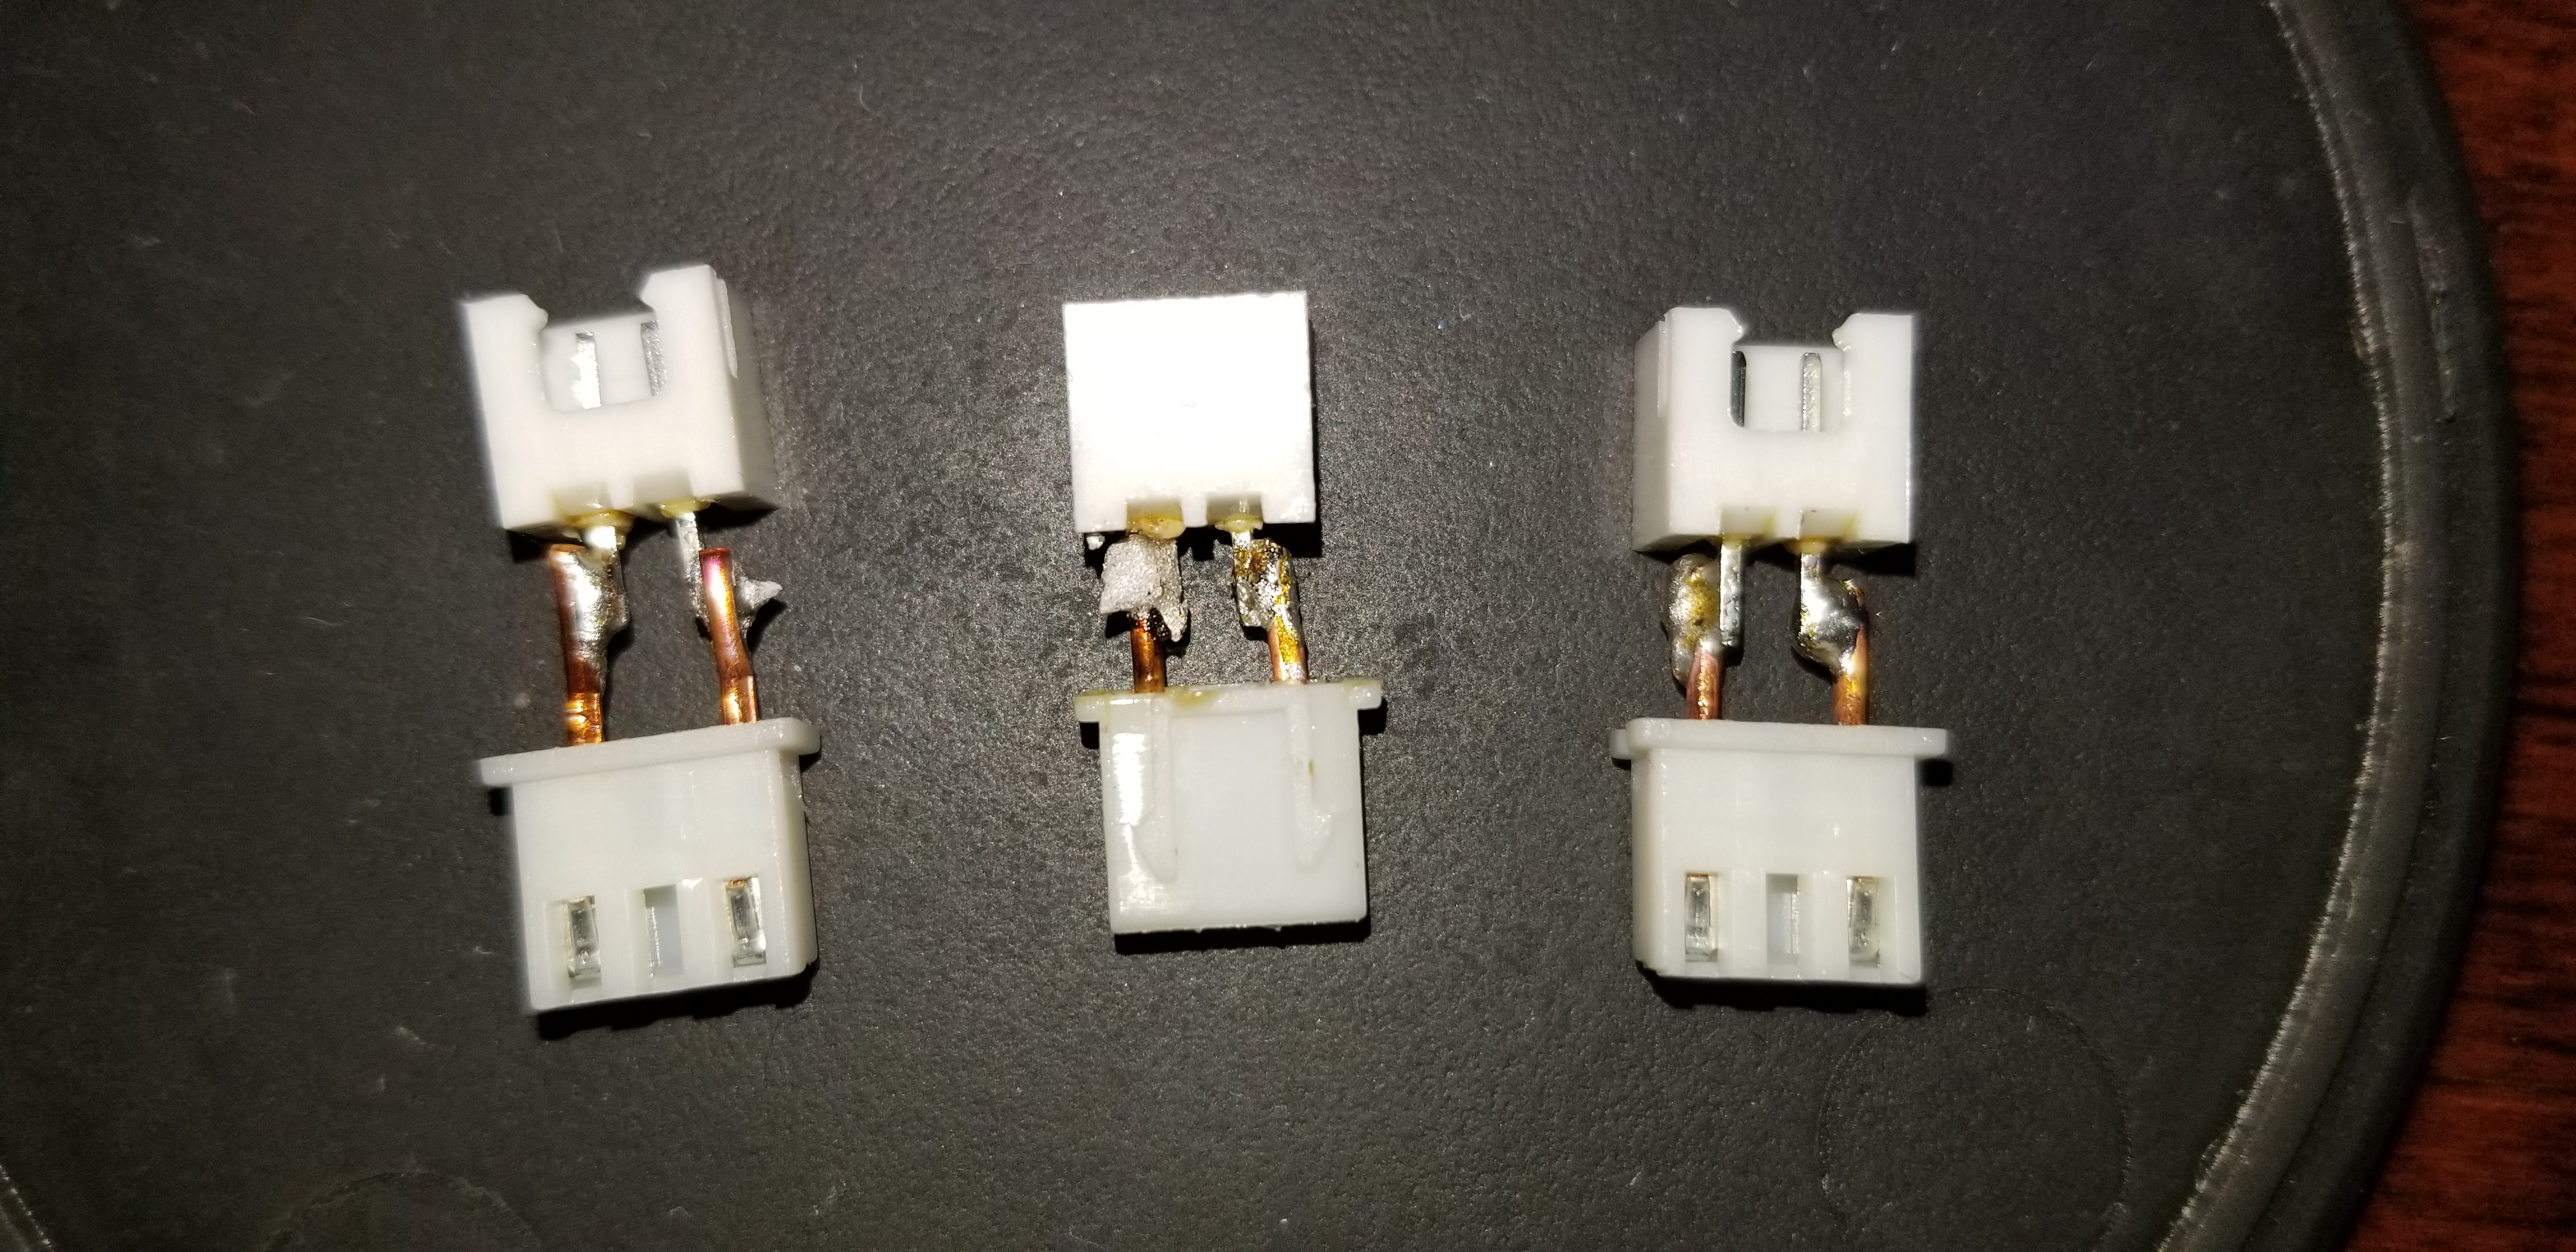
JST 2 pin to 3 pin adapters for end stop connectors.
Add JST connector for extruder stepper
Marlin Firmware changes
Invert End stops
#define X_MIN_ENDSTOP_INVERTING true // Set to true to invert the logic of the endstop.
#define Y_MIN_ENDSTOP_INVERTING true // Set to true to invert the logic of the endstop.
#define Z_MIN_ENDSTOP_INVERTING true // Set to true to invert the logic of the endstop.
DRV8825 Driver Types uncomment these and replace with
DRV8825#define X_DRIVER_TYPE DRV8825 #define Y_DRIVER_TYPE DRV8825 #define Z_DRIVER_TYPE DRV8825 #define Z2_DRIVER_TYPE DRV8825 #define E0_DRIVER_TYPE A4988 #define E1_DRIVER_TYPE DRV8825Double step count
DRV8825from 1/16 to 1/32 steps. This comes from the previous Marlin configuration which was#define DEFAULT_AXIS_STEPS_PER_UNIT { 80, 80, 400, 100 }. I've kept the extruder on aA4988chip as the heat was building on too much on it. Calibrate to0.84volts.#define DEFAULT_AXIS_STEPS_PER_UNIT { 160, 160, 800, 100 }Invert X and Y directions. Invert extruder direction.
  #define INVERT_X_DIR true
  #define INVERT_Y_DIR true
  #define INVERT_E0_DIR true
Set Z travel limit.
#define Z_MAX_POS 180SD Card Support
#define SDSUPPORT.LCD Support for RepRap Discount Full Smart Controller
#define REPRAP_DISCOUNT_FULL_GRAPHIC_SMART_CONTROLLER
DRV8825calibration. The formula is VREF = Rated motor current / 2 . So a standard NEMA 17 motor is rated at 1.68 amps. Divided by 2 it's .84 volts. I burned out an extruder stepper following this. I dropped it to .6 volts. The steppers were less hot and no performance difference. CheckoutReplace display. The connectors are backwards for the standard RepRap Discount Full Smart Controller. Some Amazon reviews pointed this out.
Replace power supply. Found a 30A on Amazon for $20. The current 20A power supply is under powered. It's a known issue with these printers.
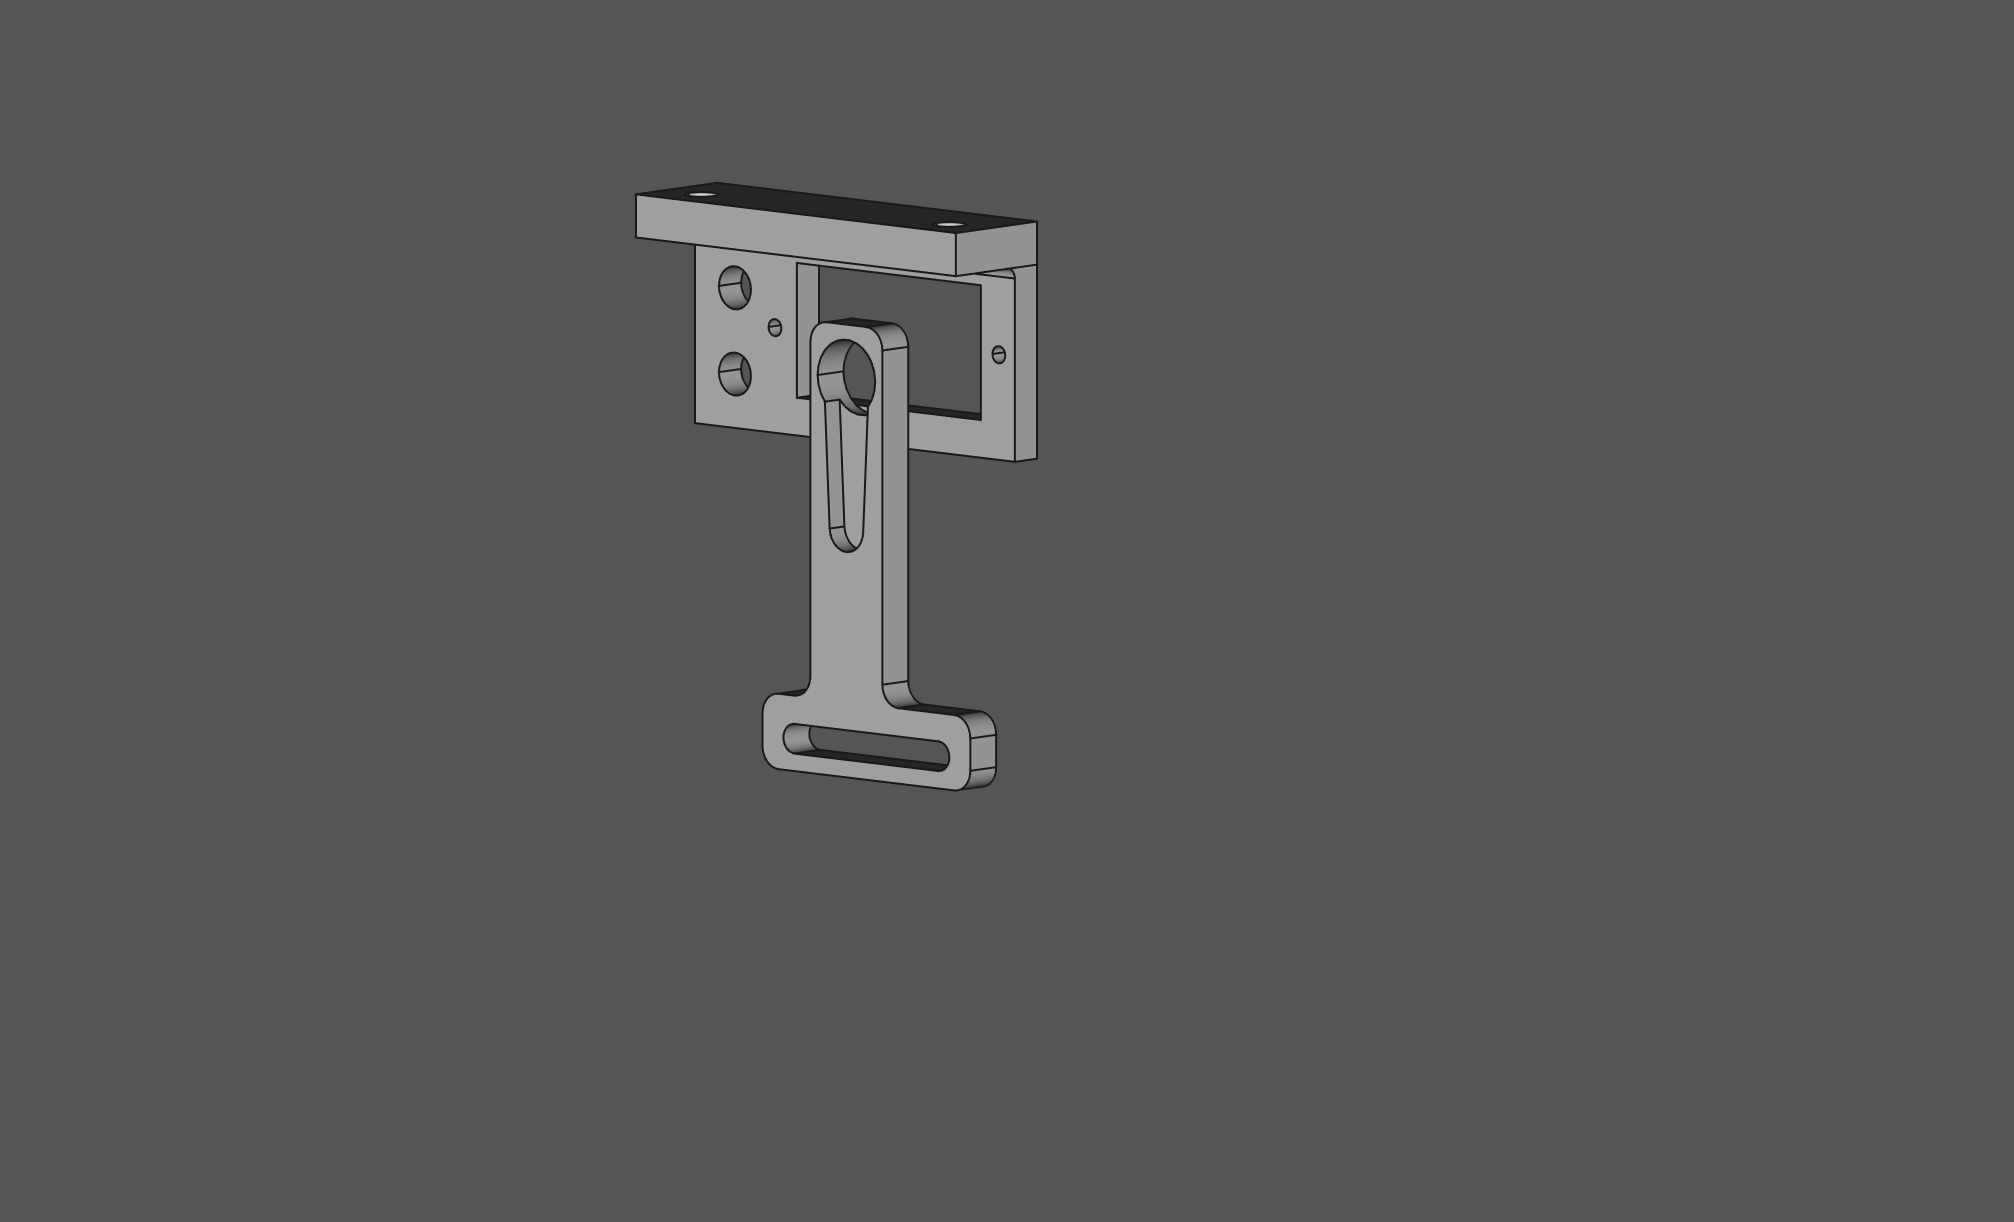
Replace Y bracket.
Easy access case for MKS Gen board
Filament sensor
Cover and mount for power supply
(Tested this but ended up reverting it) Manual LCD Bed leveling with
#define MESH_BED_LEVELING,#define PROBE_MANUALLYand#define LCD_BED_LEVELING. uncommented LCD assisted bed levelingAuto Bed Leveling using Z Probe Servo
Wiring
Marlin Configuration https://www.youtube.com/watch?v=6msLOR_EfKc and https://marlinfw.org/docs/configuration/probes.html. Uncomment the following lines.
#define AUTO_BED_LEVELING_LINEAR #define NUM_SERVOS 3 #define Z_PROBE_SERVO_NR 0 #define Z_SERVO_ANGLES { 80, 0 } // This one is important on the servo arm deploy and retraction #define USE_ZMAX_PLUG // I have an extra z max to use so this is used for the switch on the servo arm #define Z_CLEARANCE_BETWEEN_PROBES 10 // Z Clearance between probe points #define Z_CLEARANCE_MULTI_PROBE 10 // Z Clearance between multiple probes #define Z_PROBE_LOW_POINT -10 // Farthest distance below the trigger-point to go before stopping #define Z_MIN_PROBE_USES_Z_MIN_ENDSTOP_PIN #define Z_MIN_PROBE_PIN 19 // Pin 32 is the RAMPS default but we are using a MKS Gen 1.4 BoardM280important! This controls the servo. Use this for testing: https://marlinfw.org/docs/gcode/M280.html . Use the values gathered here to setZ_SERVO_ANGLESproperty.- Get servo 0 angle:
M280 P0 - Move servo 0 to a 90 degree angle:
M280 P0 S90 - Move servo 0 to a 0 degree angle:
M280 P0 S0
- Get servo 0 angle:
- Set marlin config of zprobe offset
#define NOZZLE_TO_PROBE_OFFSET { -1, -40, -7.7 } M420get/set bed level state https://marlinfw.org/docs/gcode/M420.htmlM119Endstop statesG29start the auto bed leveling routine.
Click here for the full Marlin config difference.


Lessons Learned
- Learned how to configure and almost build a 3d printer using an existing one.
- Spent way more time than expected.
